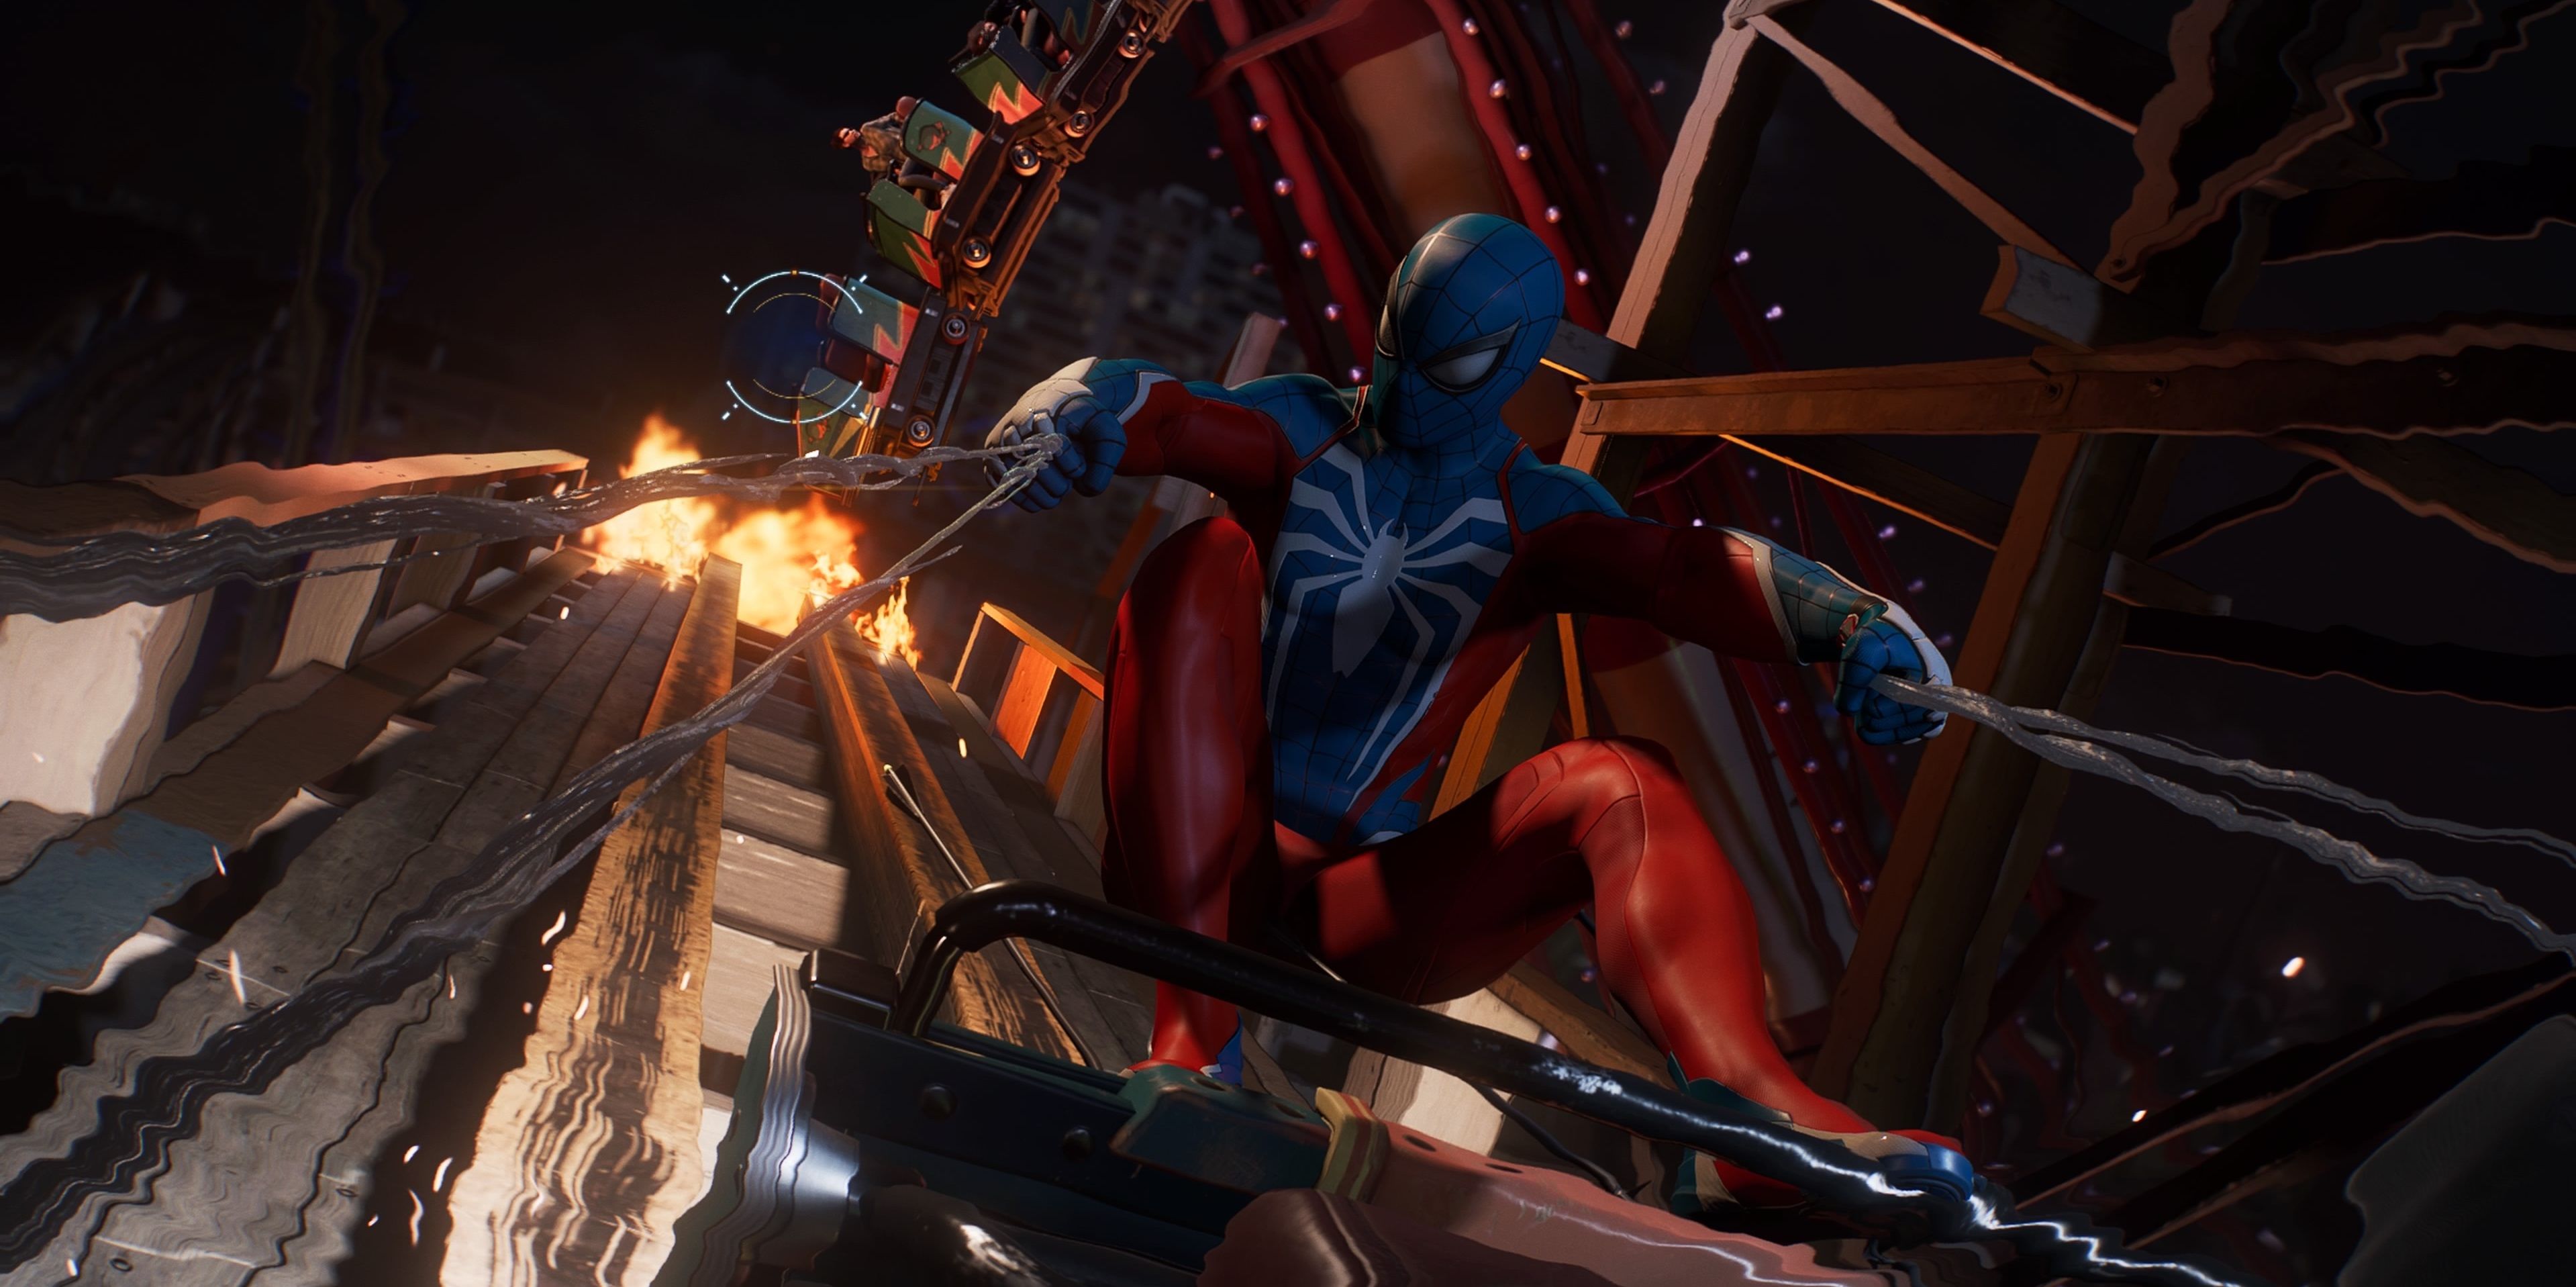
Marvel’s Spider-Man 2 is a visual masterpiece of a game. It doesn’t matter if you are looking at the intricate details of Spider-Man’s suit or watching the Sun reflect off the East River, the graphics in Spider-Man 2 won’t disappoint.
To capture the world meticulously crafted by Insomniac, you’ll have to familiarize yourself with the game’s photo mode. Like Spider-Man PS4 and Spider-Man: Miles Morales, photo mode allows you to freeze the game at any time to capture the perfect shot of Spider-Man. Spider-Man 2 updates photo mode with new lighting and sticker options, but the features that made it a hit in the original are back and better than ever. Keep reading for more information on how to navigate Spider-Man 2’s photo mode.
How To Open Photo Mode
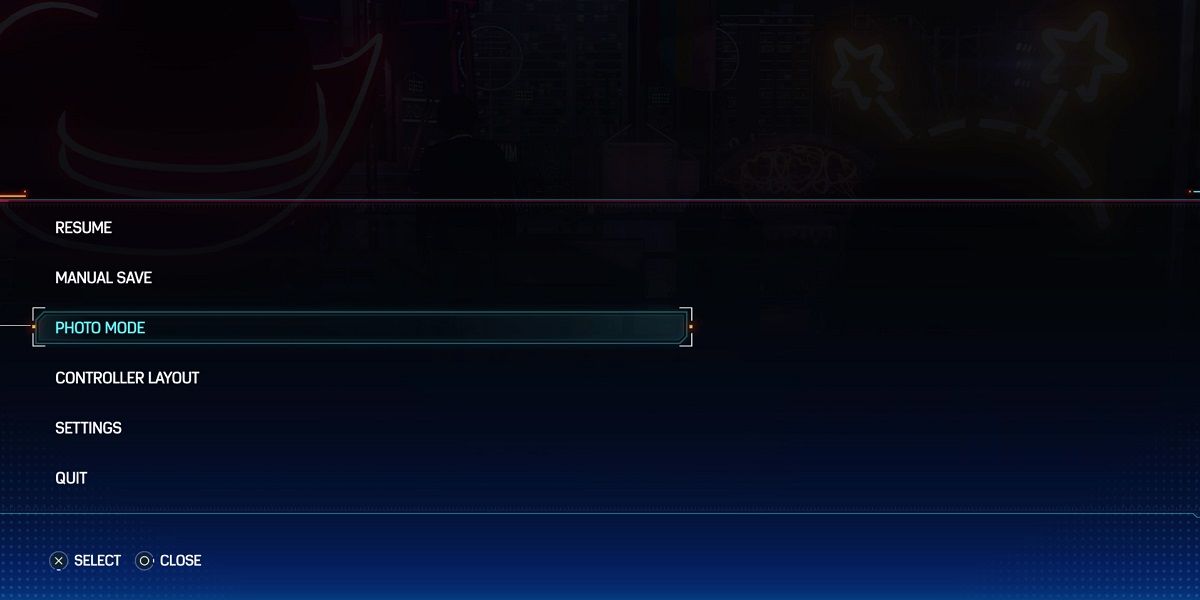
If you played Spider-Man PS4 or Spider-Man: Miles Morales, finding photo mode in Spider-Man 2 will be easy. In the pause menu there is an option aptly labeled photo mode. When selected, the game will generate the photo UI over the paused image that you created by pressing the pause button.
It is important to note that Photo Mode is different from the camera gadget, which can be activated by swiping up on the DualSense’s touch screen or chosen through the pause menu. The camera gadget activates the in-game camera UI that you will need to complete the photo challenges littered throughout the city.
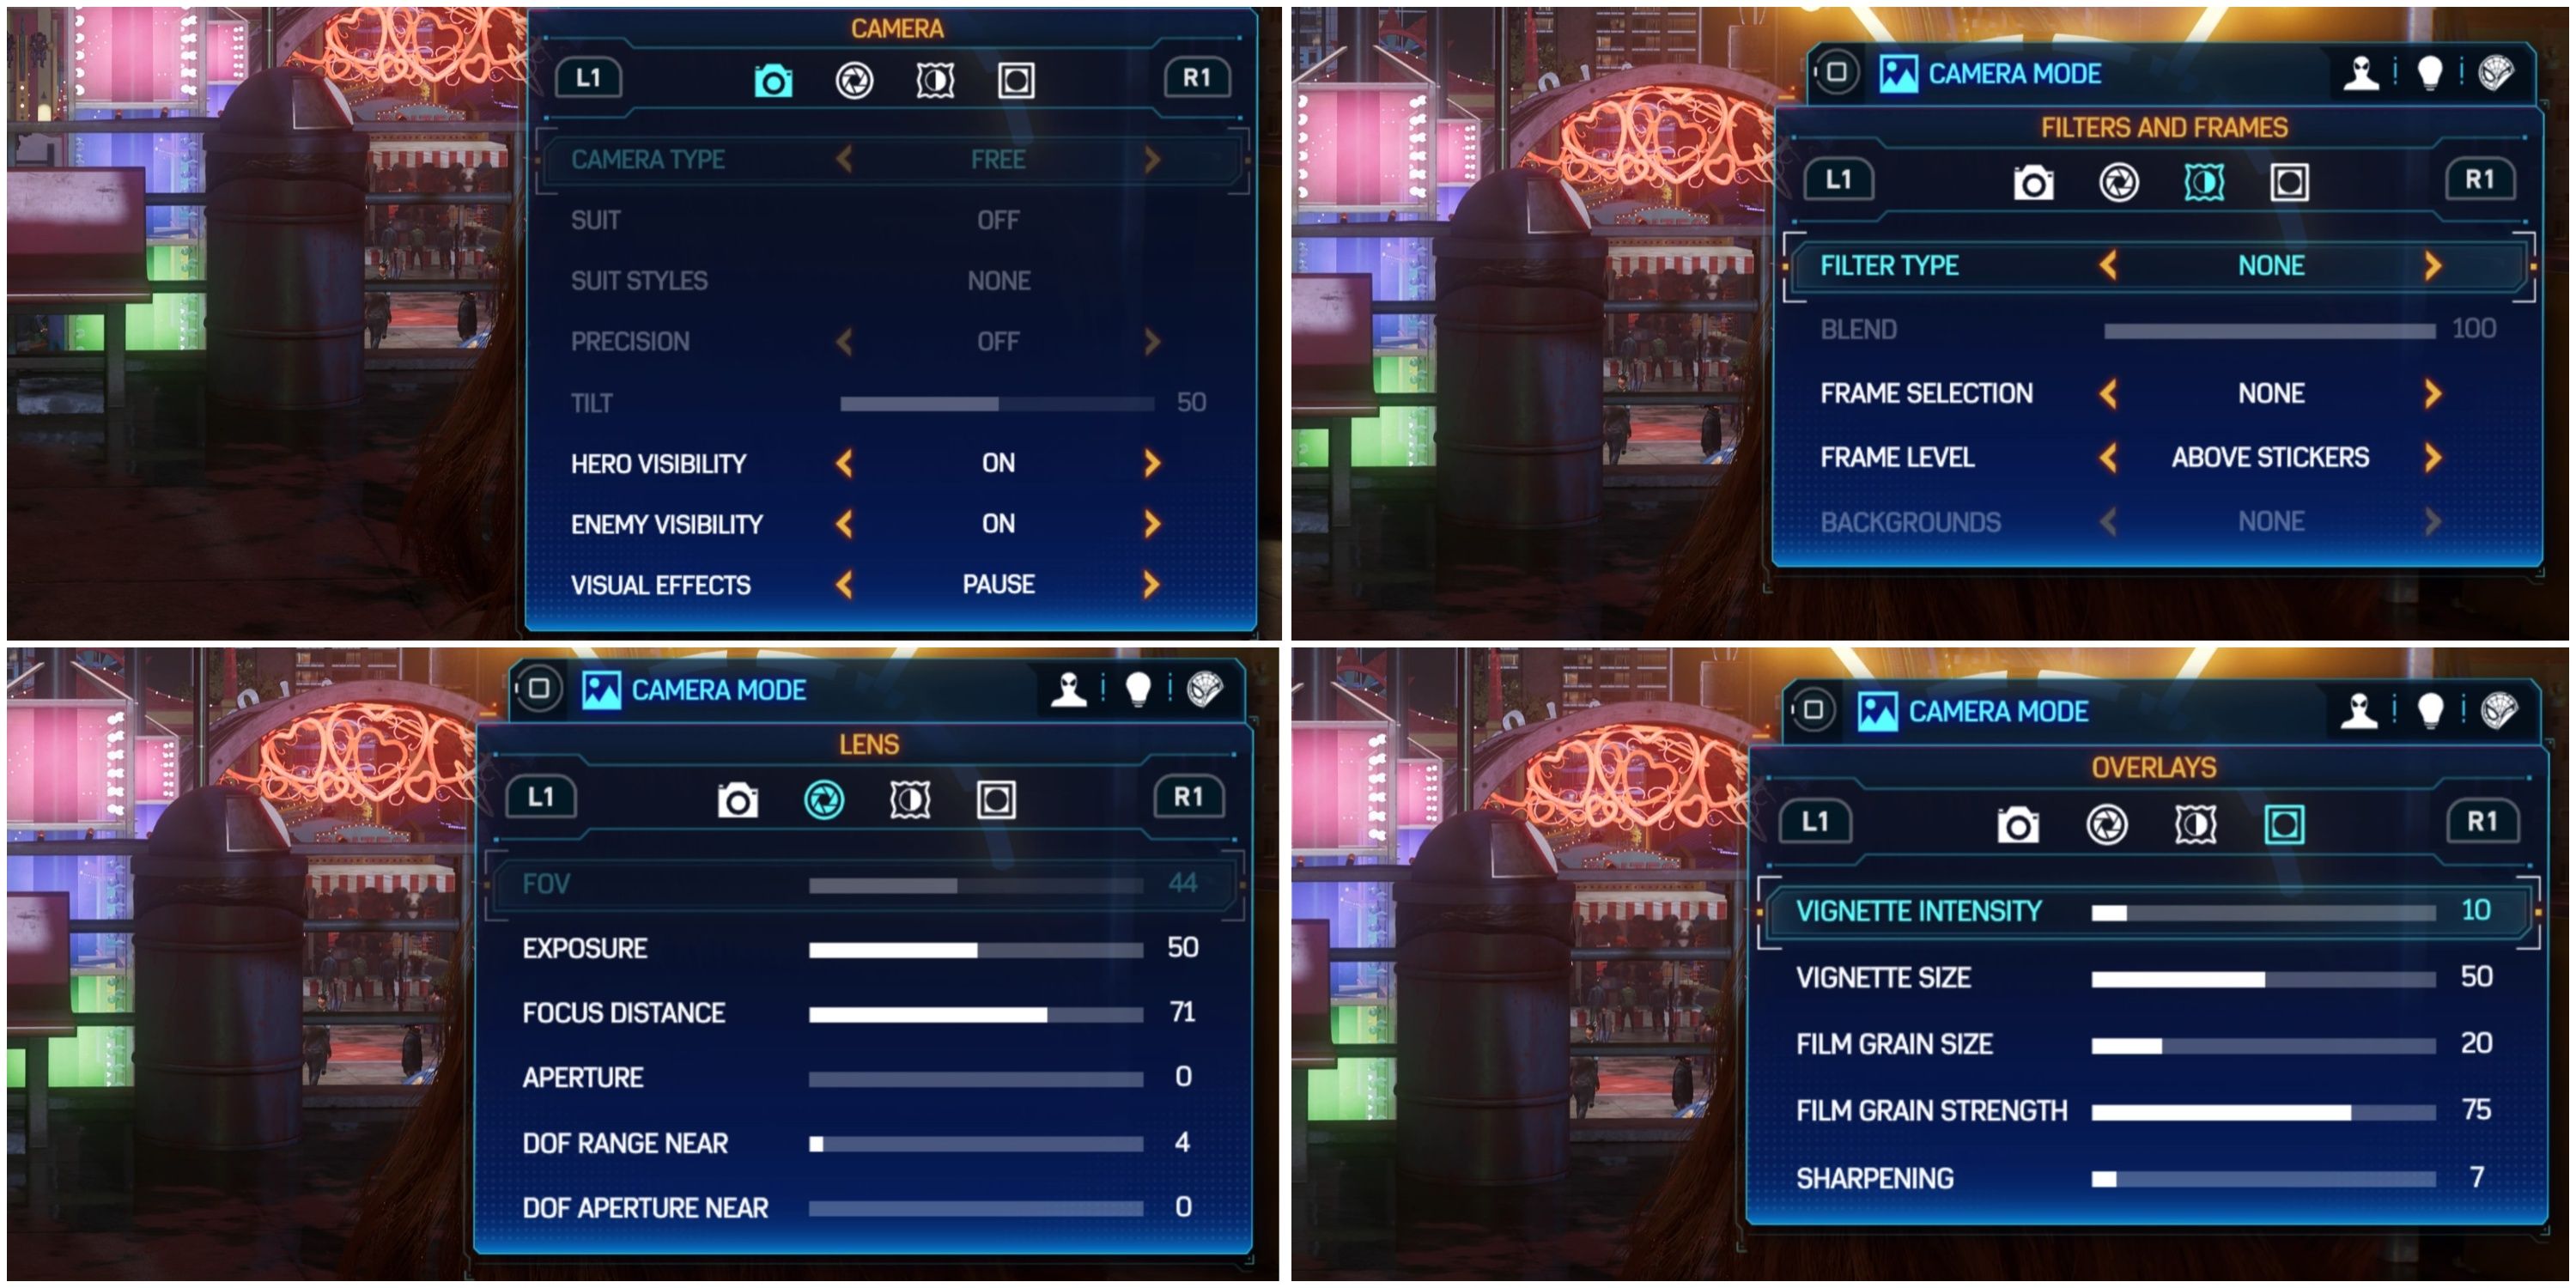
The biggest change that was made to Photo Mode in Spider-Man 2 is the depth of the menu. Once you enter Photo Mode you will be met by the frozen image that you captured by pausing the game and a small menu labeled “Camera Mode.” There are 4 different menus, each with their own set of submenus. To switch between the different menus press the square button.
Of the four different menus within Photo Mode, the Camera Mode has the most depth. Within the Camera Mode menu, there are four different sub-menus labeled “Camera”, “Lens”, “Filters & Frames”, and “Overlays.” The Camera and Lens submenus give you the power to adjust the camera angle, choose your field of view, and decide which subjects make it into the picture. Alternatively, Overlays and Filters & Frames allow you to edit the photo after you’ve settled on your composition. The fan-favorite Filters menu, which allows you to make your photo dual toned, black and white, and even 16bit, can be found under the Camera Mode menu.
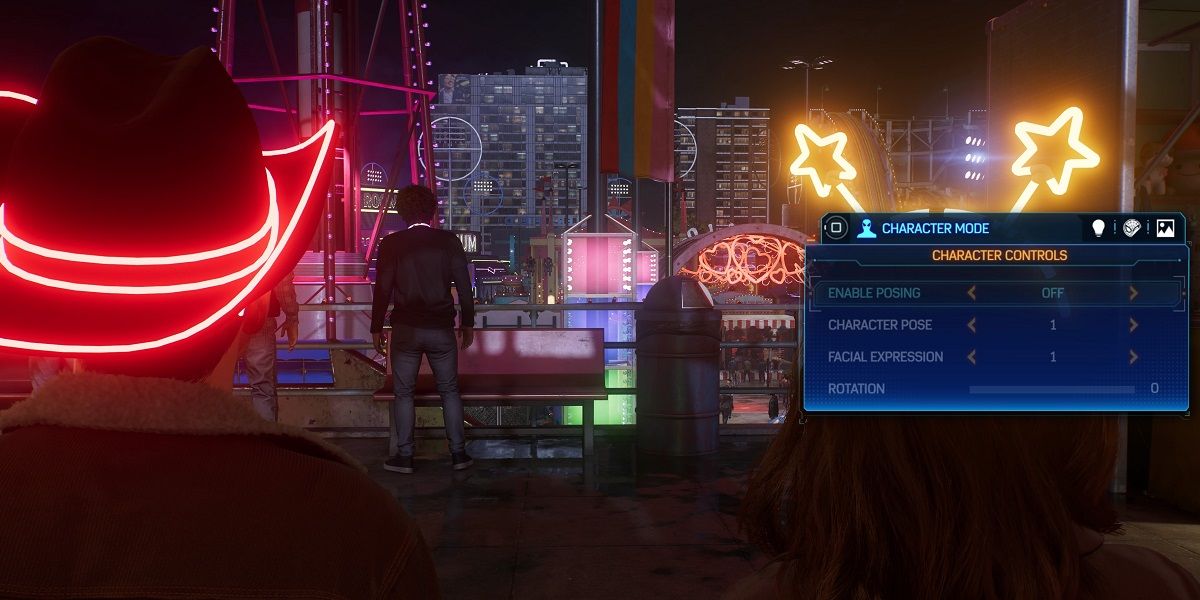
The biggest quality of life change to photo mode in Spider-Man 2 is the introduction of the Character Mode Menu. Within this submenu of the photo mode, you can adjust the pose of Spider-Man after pausing the game. In the first two Insomniac Spider-Man games, the only way to choose Spider-Man’s pose was to put your character in that pose before hitting the pause button at the perfect time. It seems enough players voiced their frustration with this difficulty, prompting Insomniac to include a menu that gives you the ability to shift Spider-Man’s pose from within the Photo Mode menu itself.
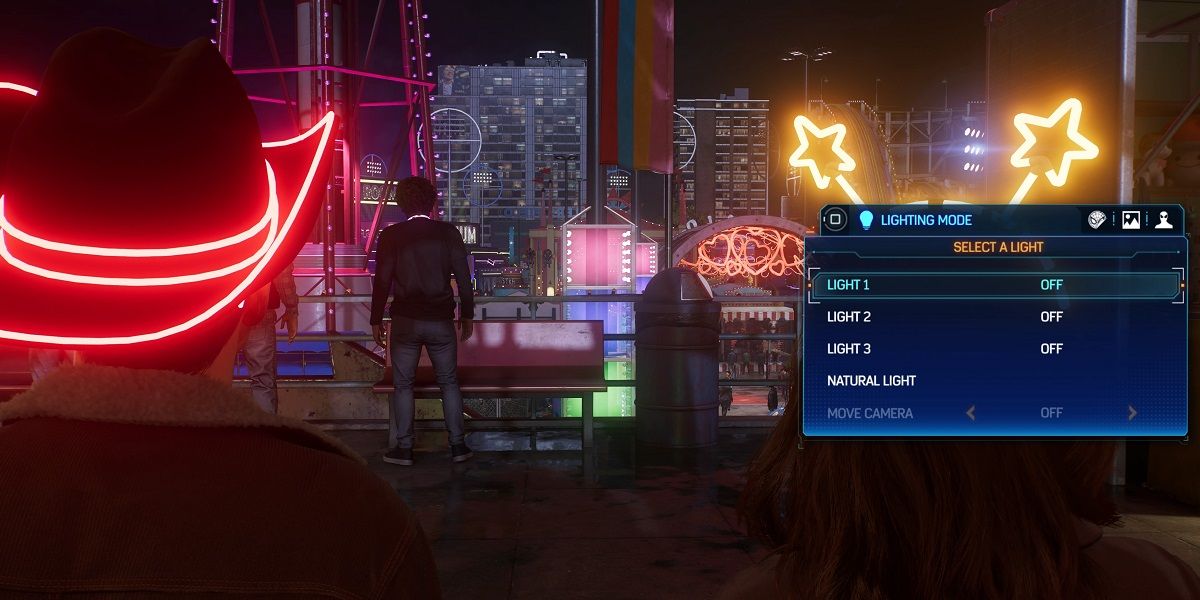
Though adding a light source may not be as exciting as adjusting your characters pose and shifting the composition of your photo, the ability to add a new light source to your image is without question the most impactful change to Photo Mode in Spider-Man 2. By adding a new lightsource and placing it wherever you want, you can avoid relying on the natural lighting around New York City. As of now Photo Mode gives you the ability to add three new light sources to your photo, and each can be adjusted for intensity, direction, and color.
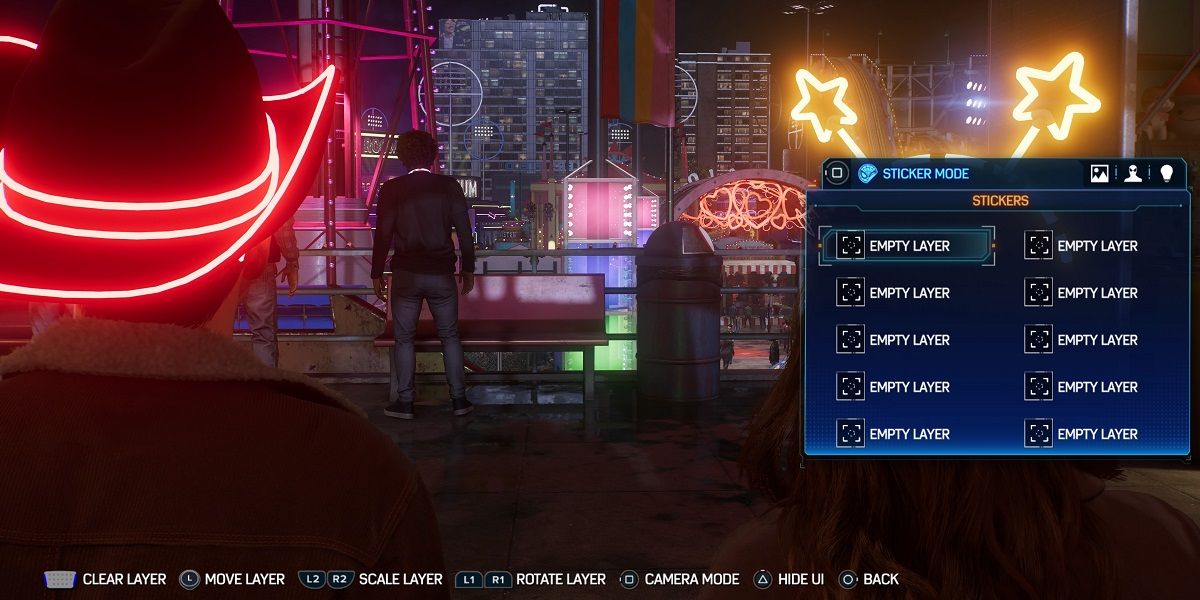
The Sticker Mode menu in Photo Mode allows you to add stickers to your image before snapping your final screenshot. If you have any desire to add a chibi Spider-Man or a venom logo to your picture just hop into Sticker Mode and search through the dozens of options that are listed here. As you level up during your adventure through Marvel’s Spider-Man 2, you will unlock more and more stickers. Make sure to check in every so often to see what sort of images you can tag to your latest masterpiece.
Hide The UI & Capture A Clean Shot Of Spider-Man & Friends
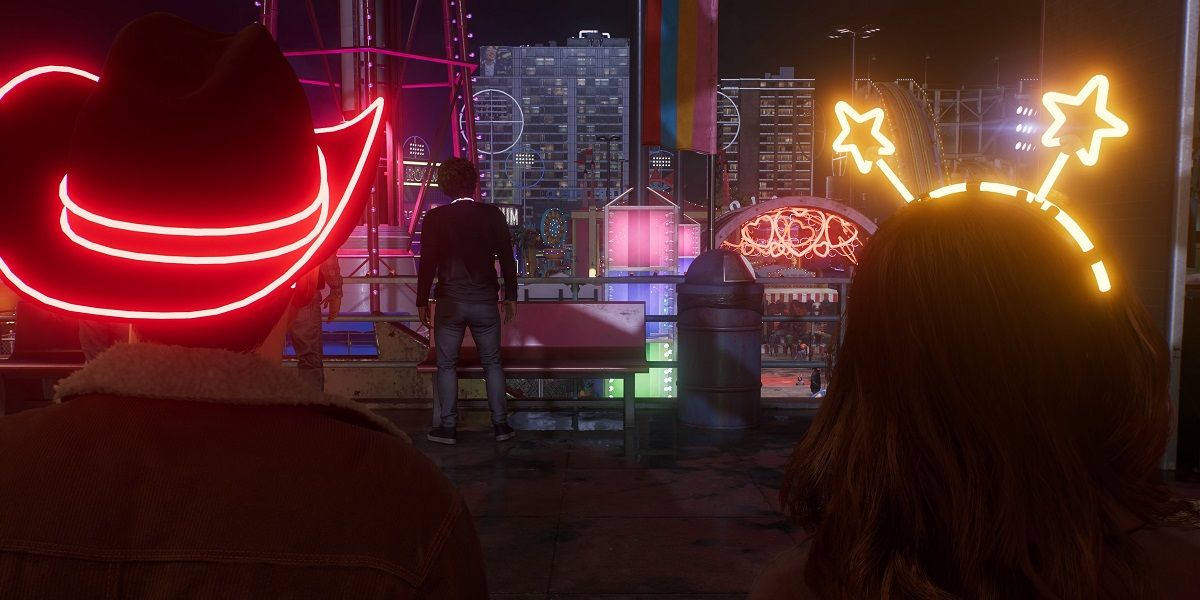
Once you have settled on a composition, added your favorite filter, adjusted the images lighting, and tagged your picture with a handful of stickers you are ready to save your image to your PlayStation where you can access it later. To save your image you will need to hide the Photo Mode UI by using the triangle button. Then, hit the capture button on your DualSense controller and select the screenshot option. With this done you will have a masterpiece saved in your PlayStation’s Capture Menu that can be downloaded and shared to your hearts content.
