Isaac’s primary goal for Chapter 2 of the Dead Space Remake is to find the Captain, as the Captain’s Rig can unlock doors that are presently closed to him. The problem? The Captain is in the morgue, and the morgue is barricaded off. Isaac’s plan is to combine a Shock Pad with a Hydrazine Tank, which will presumably blow up any inconvenient barricades blocking his path. This guide will walk players through finding both key items and combining them to enter the morgue.
Chapter 2 opens up with a series of linear hallways housing a new weapon and a new skill. Look for a glittering blue item atop a crate in the very first room to get Kinesis. This skill can move items, find secrets, and attack enemies. After a few more hallways, and clearing a few crates with the newly-acquired Kinesis ability, Isaac will uncover a Tram Station (where the Pulse Rifle can be found). Head through the door just beside the guard to find the Security Station. Make note of this room on the map, as Isaac will return here multiple times.
Updated by Nathan Round on 26th October 2023: With the Dead Space Remake being made available on Xbox Game Pass on 26th October, we have updated this guide with more relevant links to other Dead Space Remake guides.
Destroy The Barricade
Chapter 2 opens up with a series of linear hallways housing a new weapon and a new skill. Look for a glittering blue item atop a crate in the very first room to get Kinesis. This skill can move items, find secrets, and attack enemies. It’s a pretty fun weapon to play with. After a few more hallways, and clearing a few crates with the newly-acquired Kinesis ability, Isaac will uncover a Tram Station. The Pulse Rifle can also be scavenged here, sitting rather forlornly next to the recently deceased security guard. Head through the door just beside the guard to find the Security Station. Make note of this room on the map, as Isaac will return here multiple times.
The Hydrazine Tank
The first main room within the Diagnostics Wing (Imaging Diagnostics) has a large glass container blocking that path forward. The little blue magnet symbol indicates that the player can Kinesis this obstacle out of the way. Go ahead and shift the cylinder to the left and enter the second half of the room. There’s a locked door, an unlocked door, an elevator, and a Circuit Breaker. Always with the Circuit Breakers! Explore the unlocked room first to grab Chapter 2’s first Power Node.
More Circuit Breakers
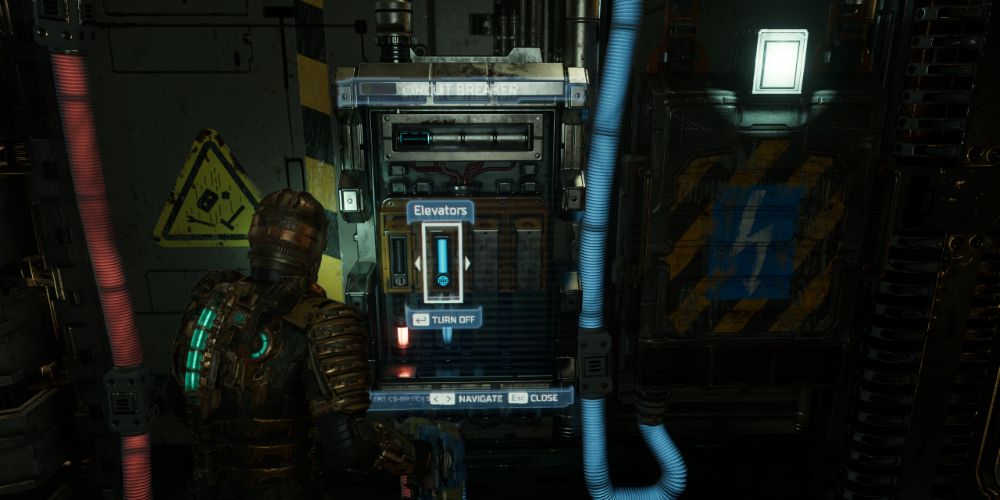
Next up, Isaac needs to power up that Circuit Breaker. The red hole in the wall is actually designed to house a giant battery. Look around for the battery and use Kinesis to plug it back in. Viola! As per usual, the Circuit Breaker gives Isaac some options. First, power the doors near the beginning of the room to pick up some items and lore. Then power the elevator and head upstairs.
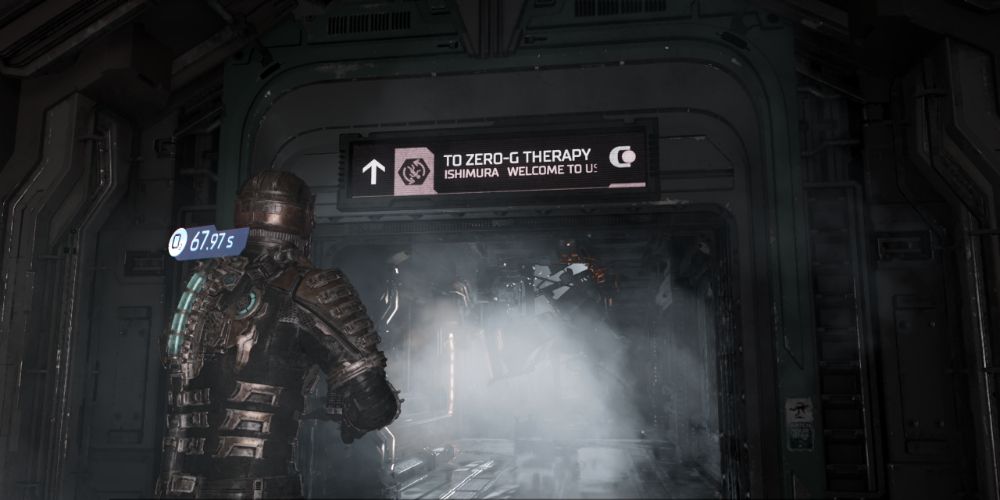
Isaac is greeted by creepy-crawly Necromorphs and another simple Kinesis puzzle. Move a platform from the center of the room towards the gap in the pathway on the right-hand side. Once across the gap, Isaac can explore a few bonus rooms before encountering a door labeled Zero-G Therapy.
Zero-G Therapy
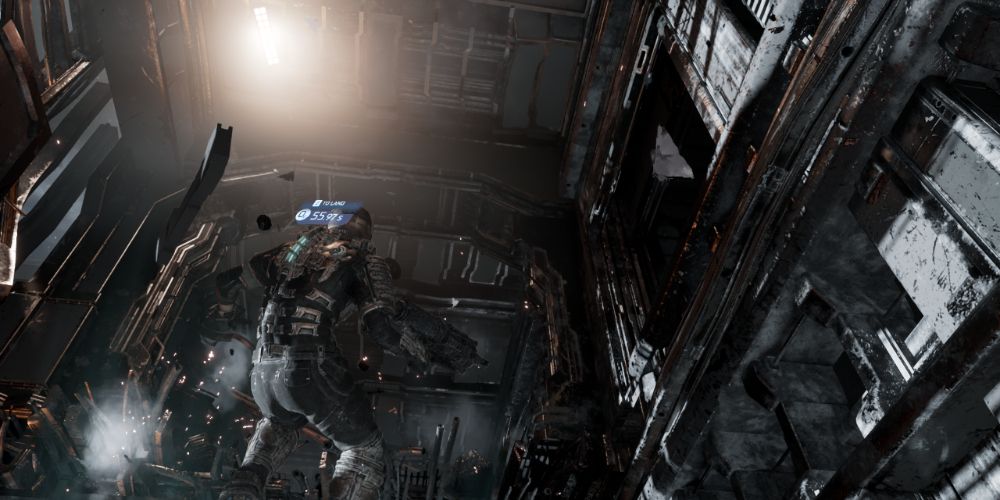
Some Dead Space rooms are vacuums, which means no oxygen and no gravity. These are time-limited spaces (Isaac’s suit can be upgraded for larger oxygen reserves with Power Nodes), so keep an eye on the clock as you sprint through. There is a secret item, a Bronze Semiconductor, above the door in the middle of the room. Grab it if you have time, as it won’t be there on the way back.
After emerging from the vacuum, there is (blessedly) plenty of air but still no gravity. Follow the prompts to use the thrusters (L1 + R1) and enjoy the first foray into weightlessness. There are some boxes floating around with items inside, and a door on the other end of the room. Amidst the copious loot sits a red-and-white Hydrazine Canister on the workbench on the left wall. Bingo!
The Shock Pad
Now to find that Shock Pad, build the explosive, and finally access the morgue! Start by backtracking to the Security Station room from the beginning of the chapter. Backtracking will work nicely until the vacuum room, where some debris has blocked Isaac off from the original entry point. Look up, engage the thrusters, and float to the second floor to find a door labeled Coolant Pipelines.
Navigate toward an open elevator shaft, engage those thrusters, and head toward the door at the bottom of the shaft. Grab the Schematic from the workbench, fight through a few Necromorph-infested hallways, and finally emerge back in the Security Station.
Unsure of where to go? Hit R3 for the blue line!
The Research Wing
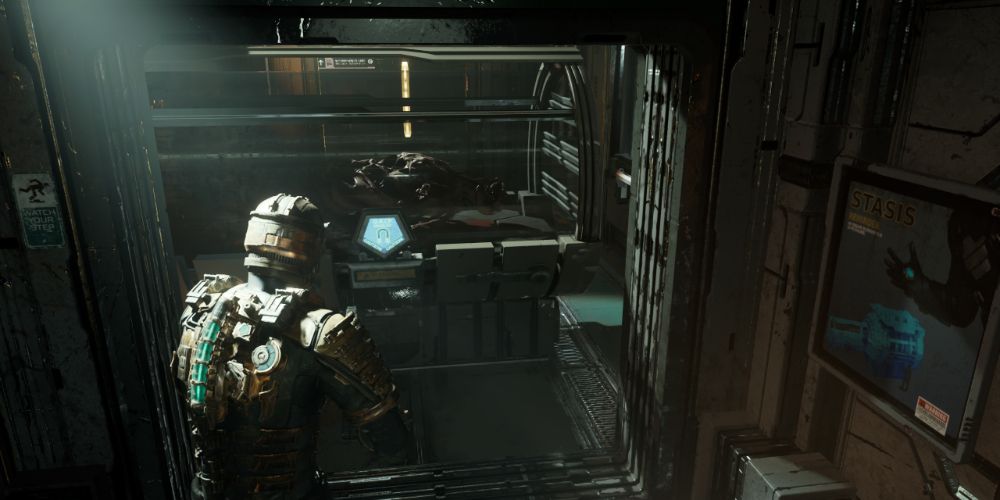
From the Security Station, head north through the door labeled Research Wing. After a hallway with another broken door (use Stasis) and a few enemies, the player will enter the main research area. This small series of rooms is packed full of Necromorphs, so weapons are at the ready. Take some time to look around for loot (ammo in particular), then activate the elevator at the far end of the room
The downstairs area is worth a full exploration, as it’s packed with text logs and audio recordings that contextualize the story and the lore. Another schematic can be found in an unlocked door near the elevator (Main Lab Changing Room). There is also a starting point for a side mission, Scientific Methods, activated by interacting with the bookshelf in Dr. Brennan’s office. Once done exploring, follow the blue line (R3) toward a door labeled Biological Prosthetics Center and prepare for a new breed of Necromorph.
Lurkers
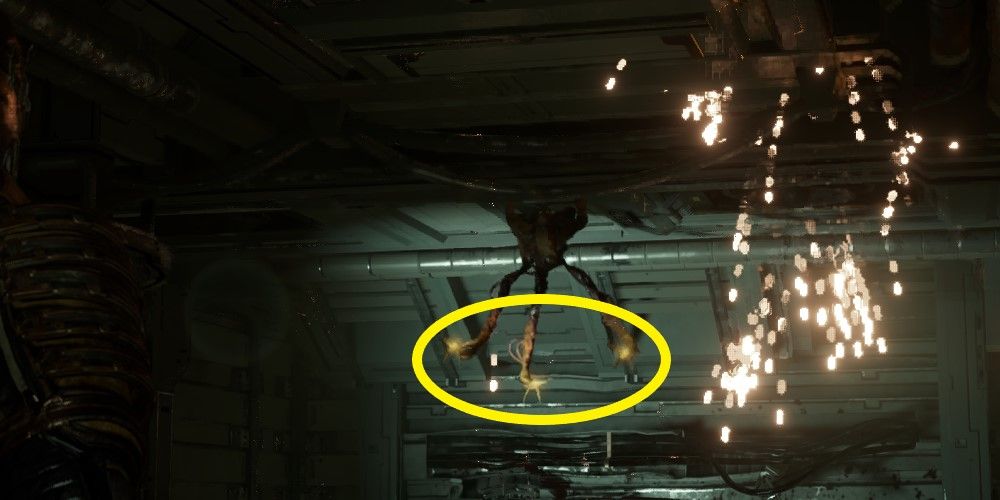
Arguably one of the creepier enemies in all of Dead Space is the Lurker, a tiny enemy which crawls up walls and ceiling while casting yellow orbs of destructive goo at Isaac. A good method for defeating these enemies is to wait until they prepare to fire projectiles, cast Stasis, then sever the tentacles on the back of the enemy.
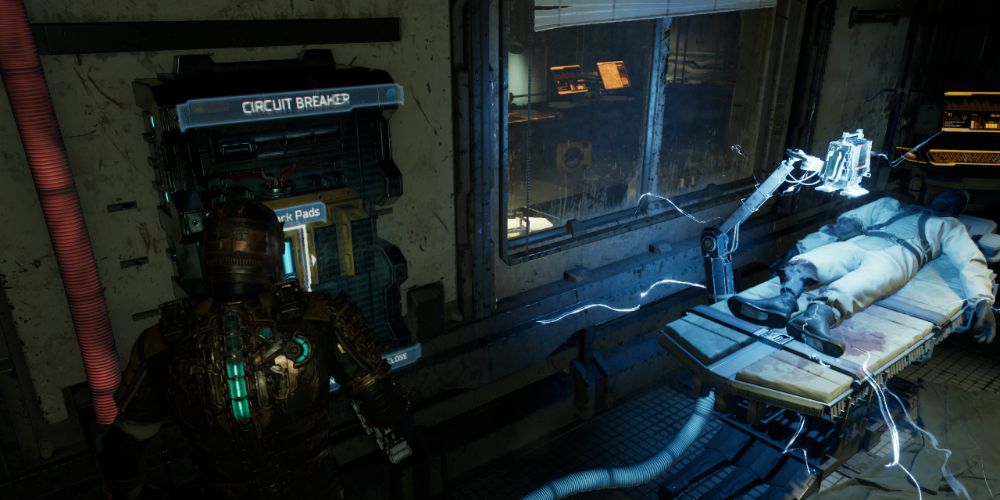
Defeat the enemies and head for the elevator up to the second floor. More Lurkers await, but so too does the Shock Pad. Explore the upper floor to find another Power Node, a Circuit Breaker, and a body on a cot that appears to be getting electrocuted. Don’t touch the body yet lest Isaac share their fate! Use the Circuit Breaker to stop the current (and conveniently open a shortcut back to the beginning of the Research Wing). Now that the body is safe to touch, Isaac can pick up the long-awaited Shock Pad.
Destroy The Barricade
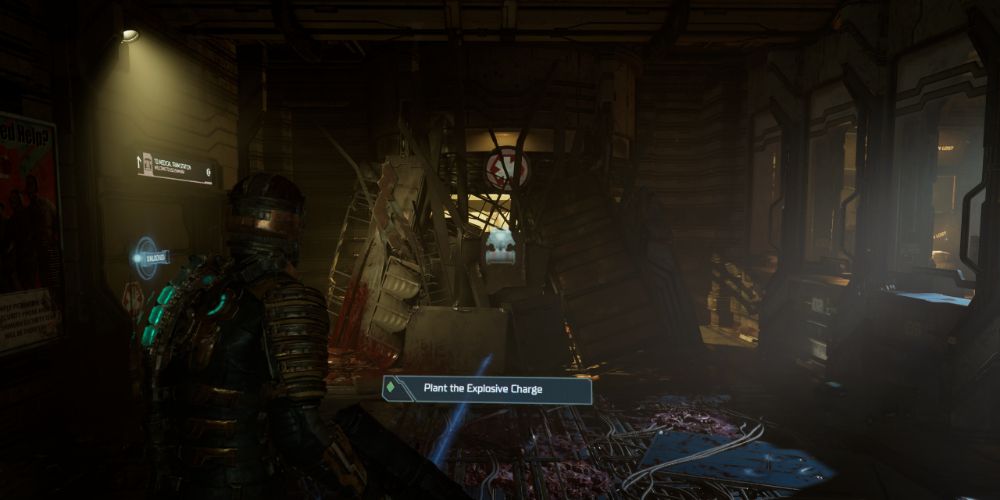
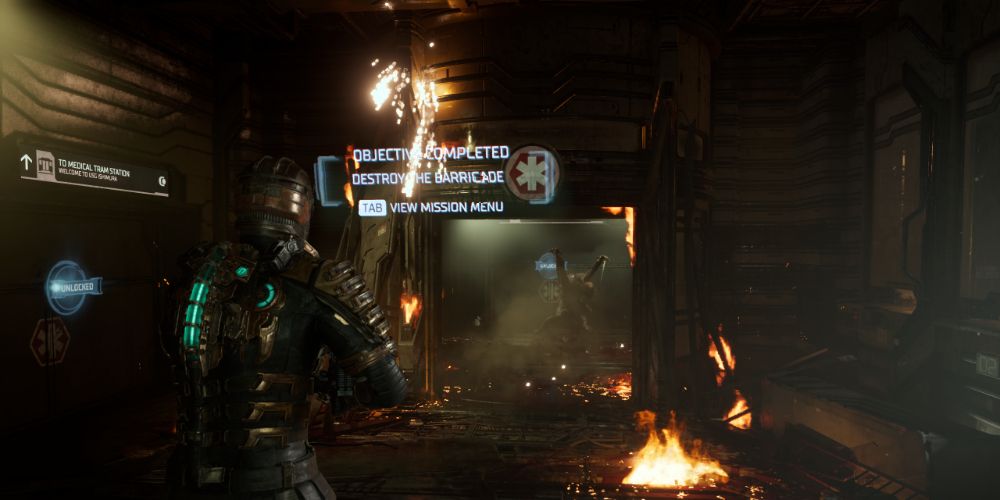
Head back through the short hallway with the broken door (Stasis) to get to the Security Station, where the barricade awaits Isaac’s homemade bomb. Interact with the barricade, take cover, and wait for the sparks to fly! With that, Isaac has successfully completed the first major obstacle of Chapter 2. Tune into the next guide to find the Captain!
