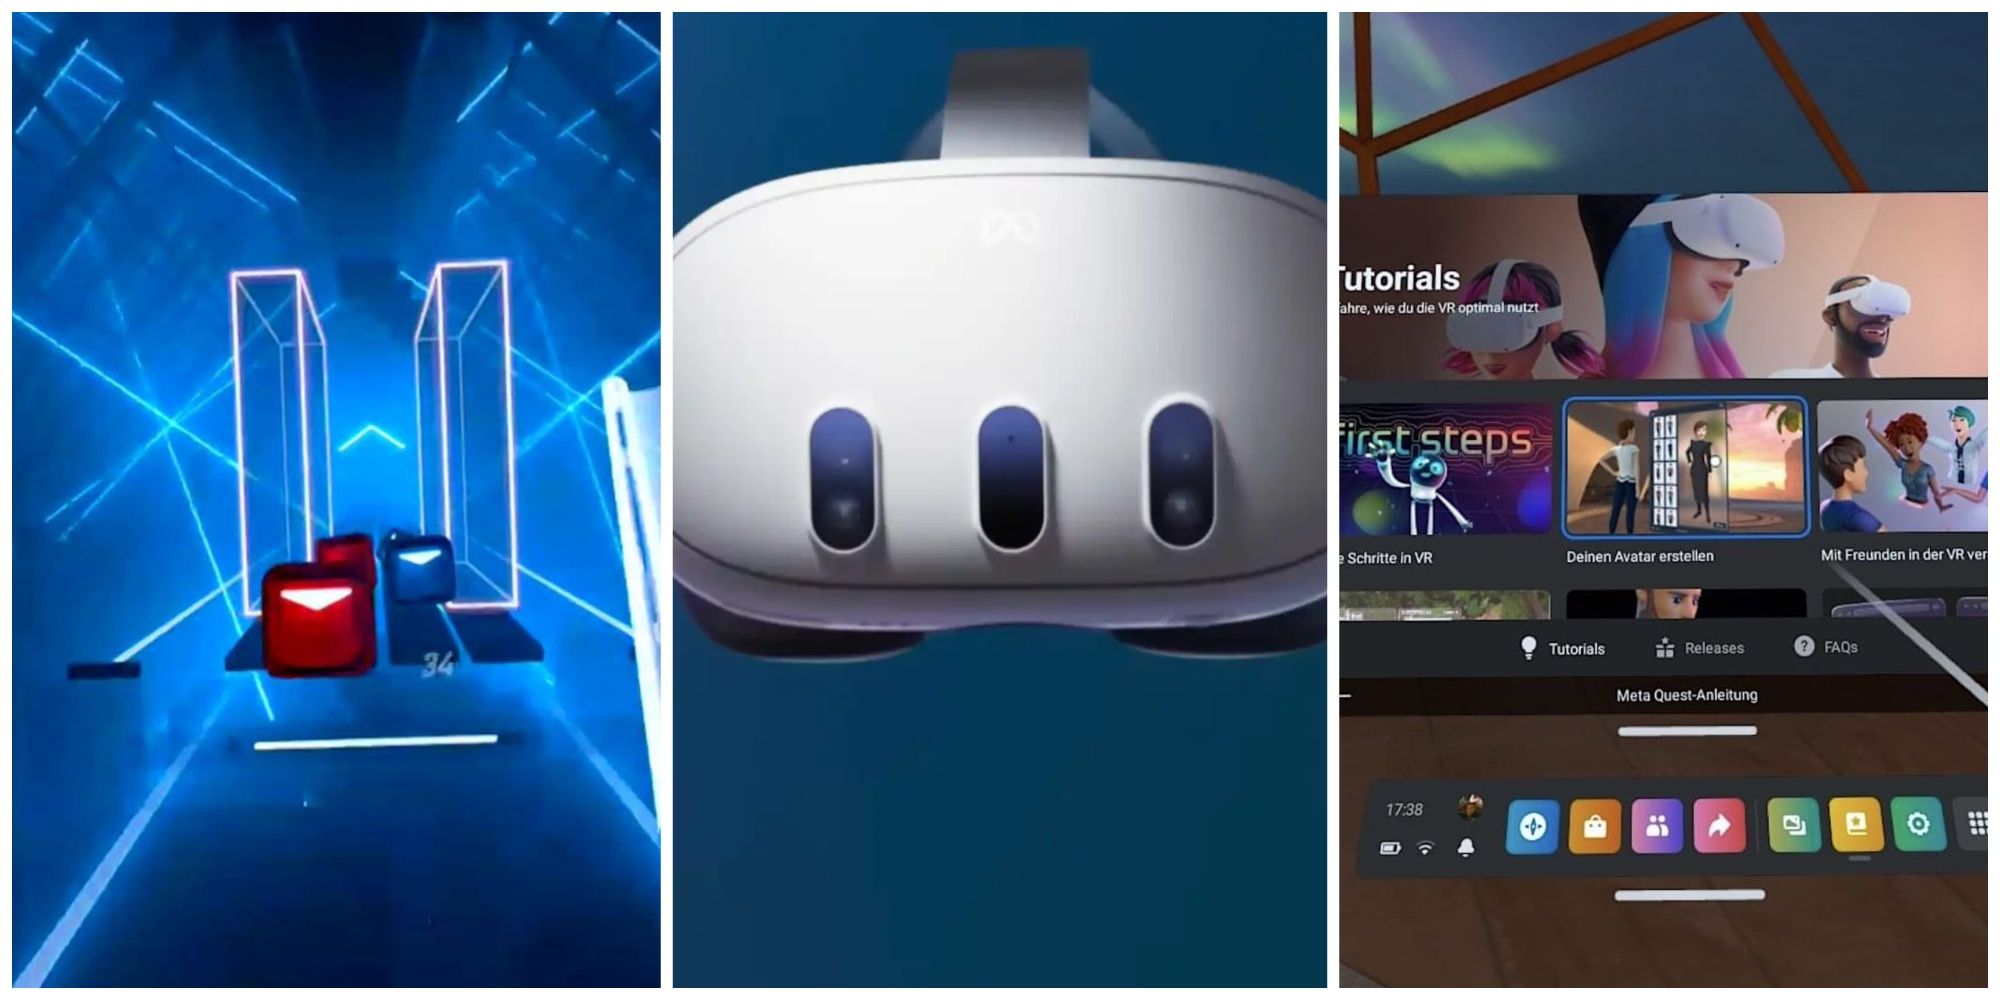
Taking screenshots on the Quest 3 can be a bit tricky if players aren’t aware of which button combinations they need to use. If you are struggling with that, we have you covered.
Just like playing games on PC or consoles, taking and sharing screenshots with your friends and on social media is an integral part of the experience while using the Quest 3. Thankfully, taking screenshots on the Quest 3 is a pretty straightforward process. While the sharing features might not be as robust as the PlayStation 5, one can still use a few workarounds to get screenshots across multiple devices. Here is all you need to know about taking screenshots on the Meta Quest 3.
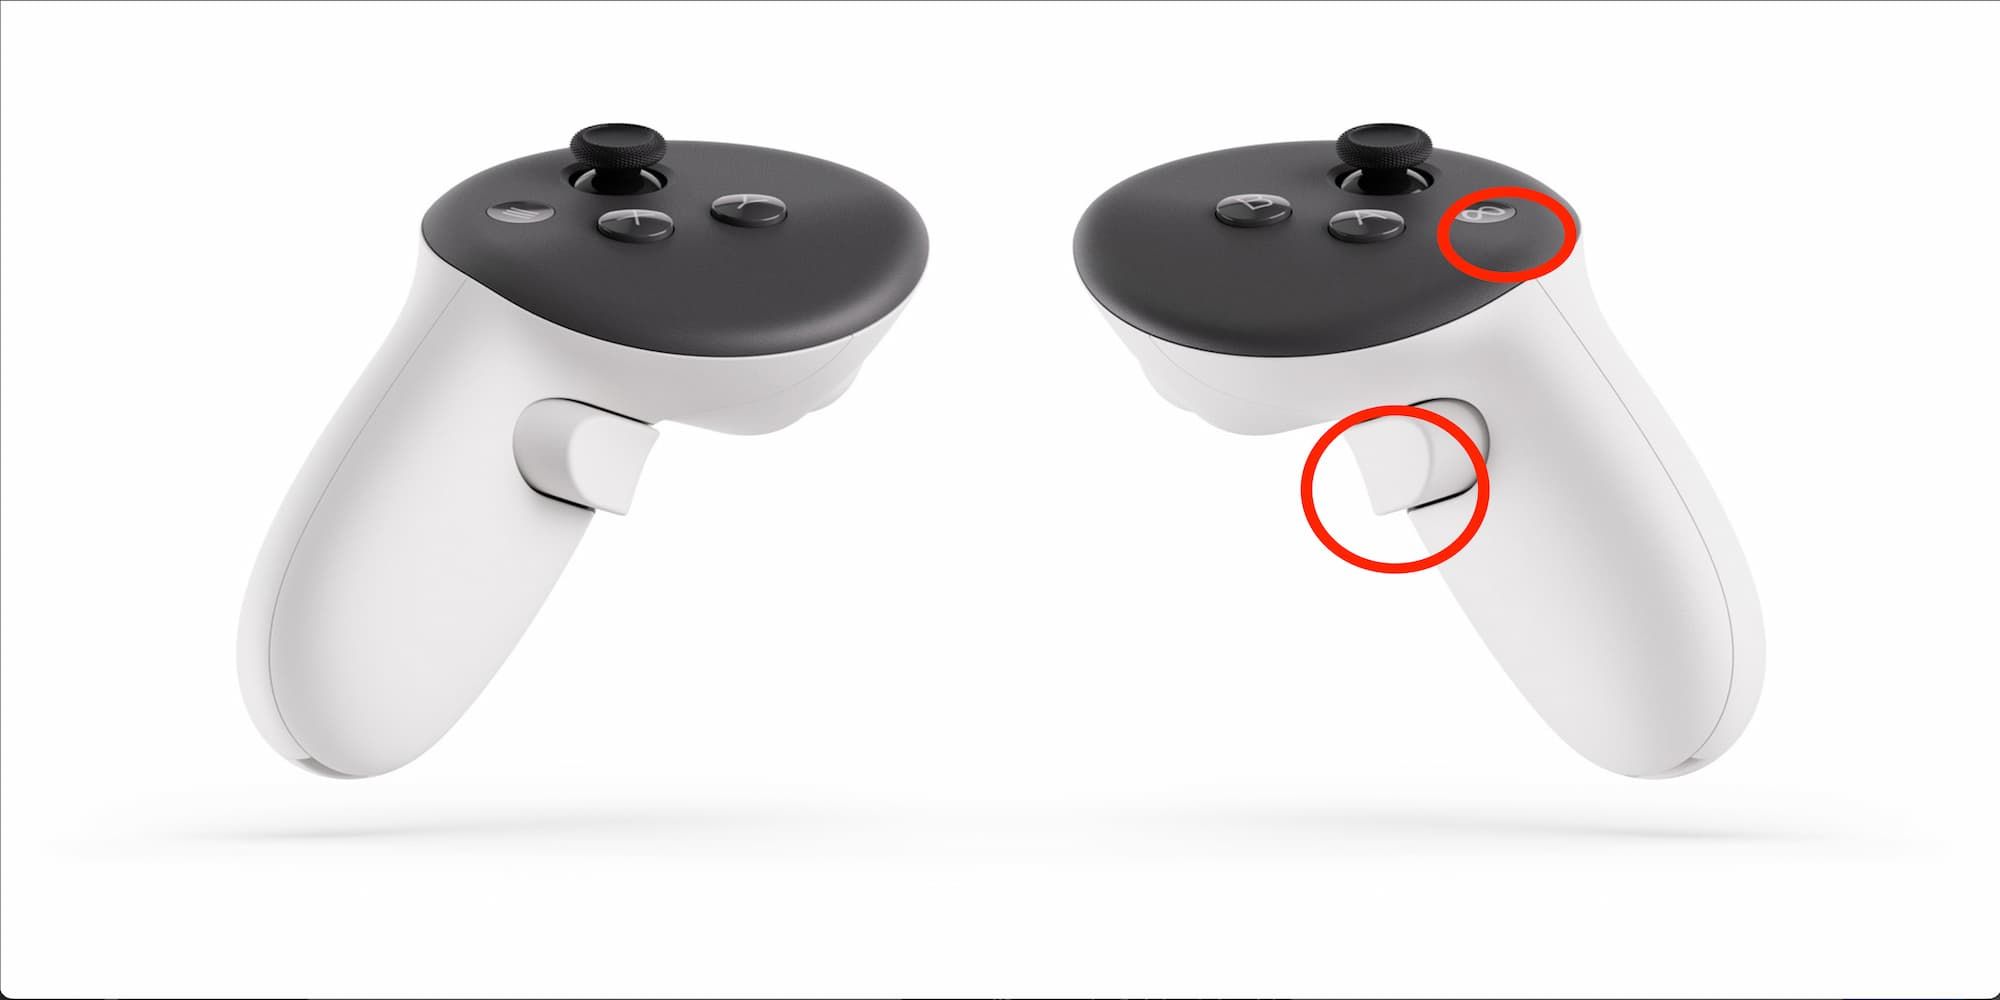
In order to take screenshots on the Meta Quest 3, all you need to do is hold the Meta button on your right controller and then pull the right trigger. You will be notified that a screenshot has been taken in a couple of ways. Firstly, there is an audio cue to mark the event. On top of that, a red dot also appears on the screen.
After the picture is taken, you can access it directly from the notification. In case you missed that, there is an easy way to access your screenshots as well. On the main screen, click on the Files menu and then head to the Recents tab. Your screenshots should automatically appear here. Additionally, if you are looking for previously taken screenshots, you can do so by clicking on the Media tab. You can then directly share the pictures to your various social media handles.
If you wish to transfer files to your PC, you will have to use a different method. You will first need to connect your Quest to your PC using a USB cable and allow access to files. You can then simply navigate to the folder with your screenshots and transfer them to your computer. Additionally, you can also sync your screenshots to the Cloud and access them from the Quest mobile app, which is a more convenient way of doing this.

