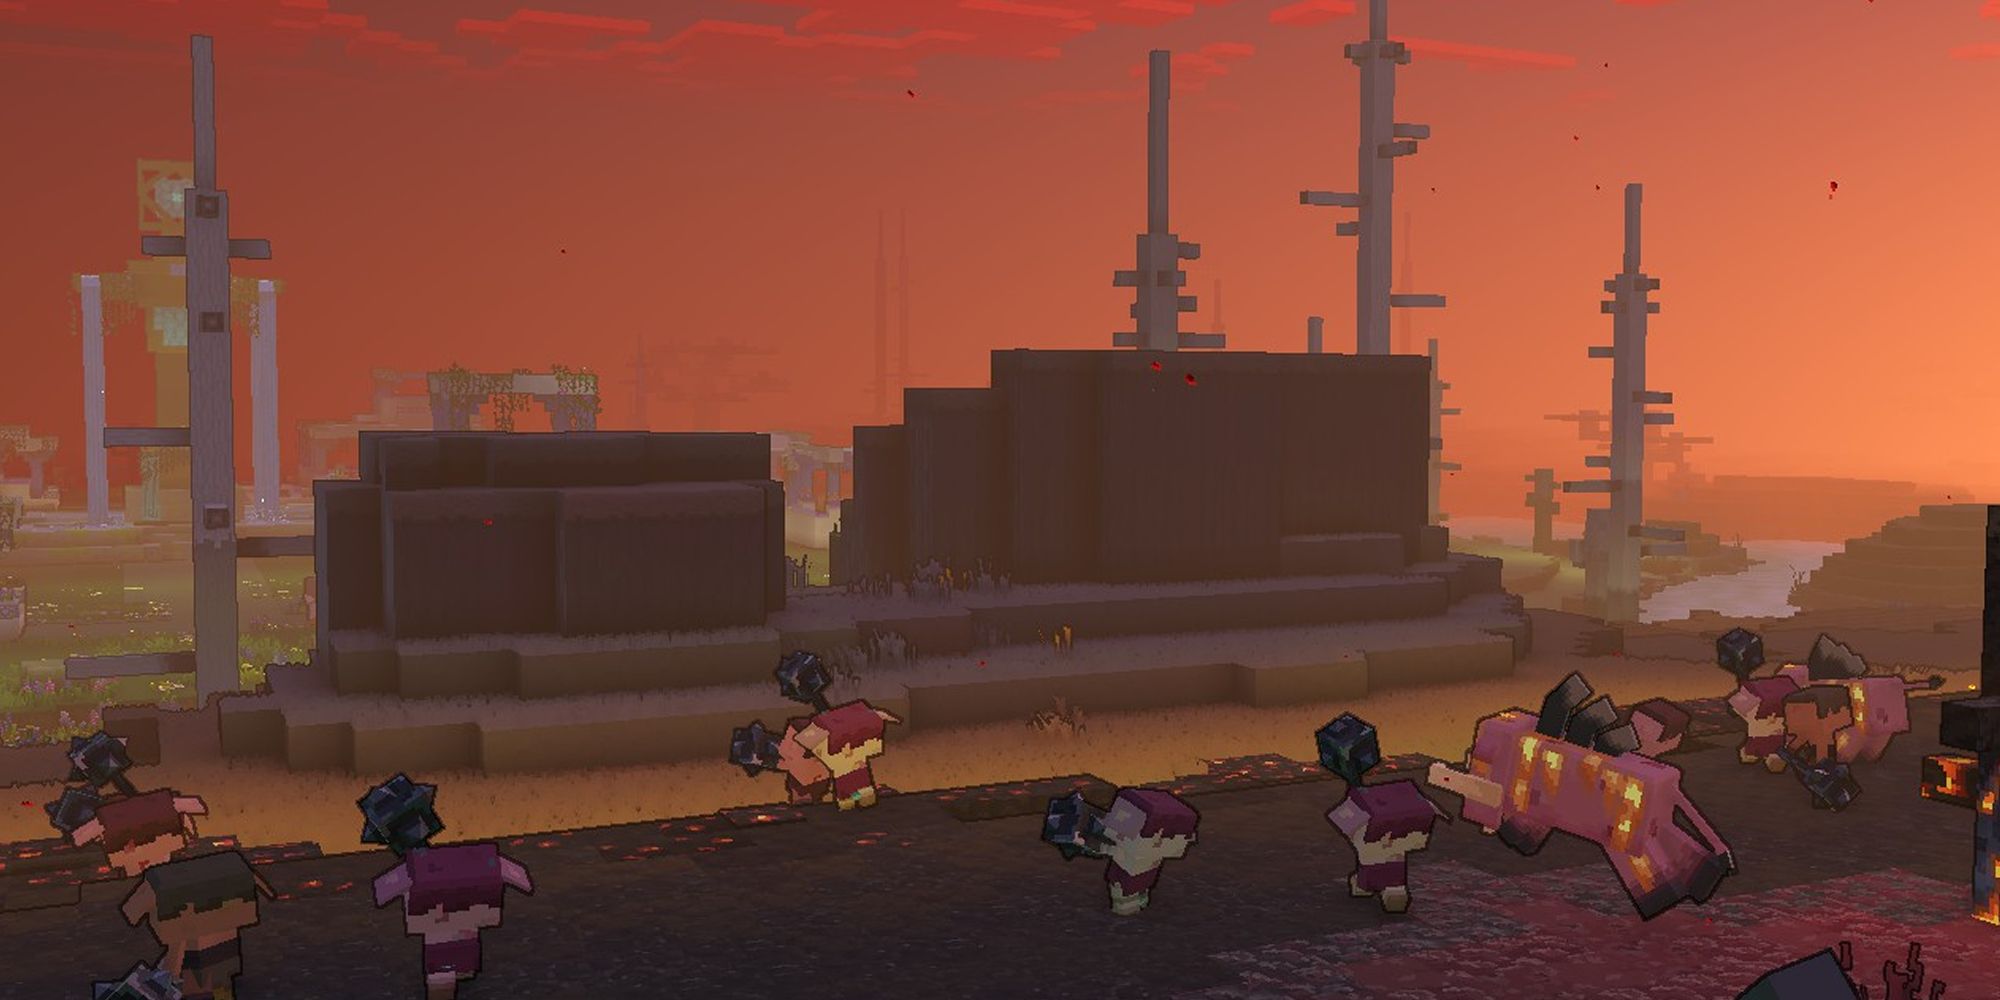
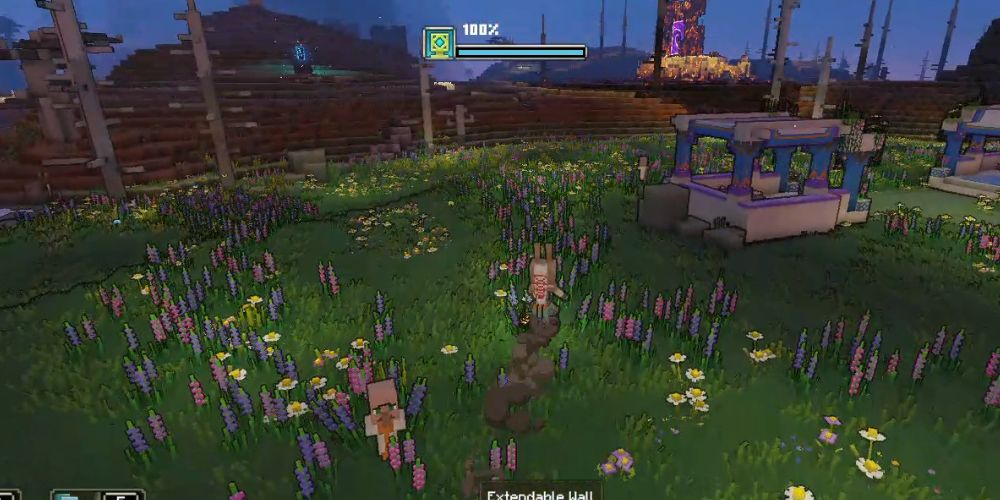
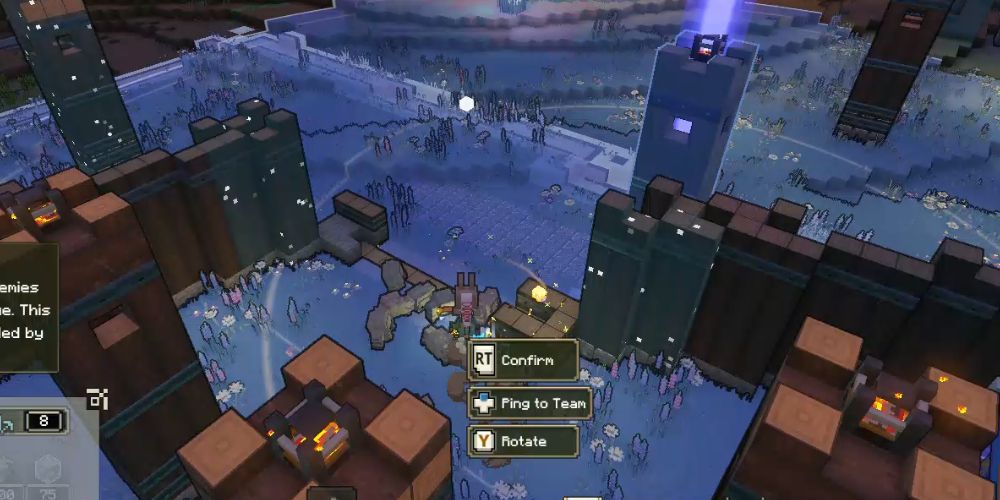
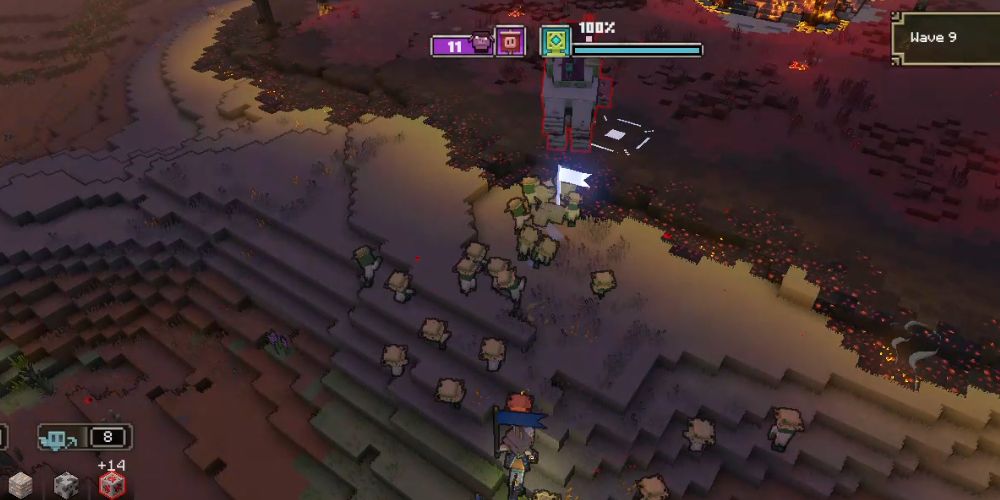
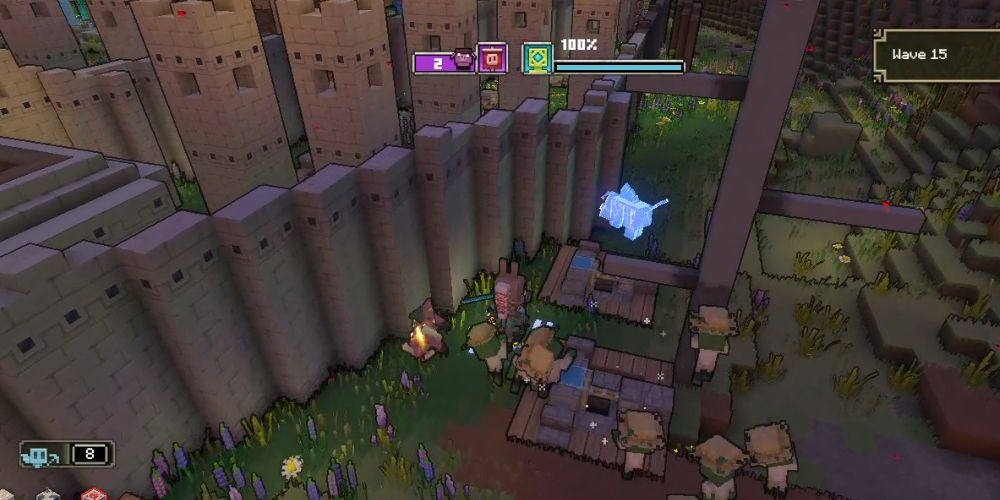
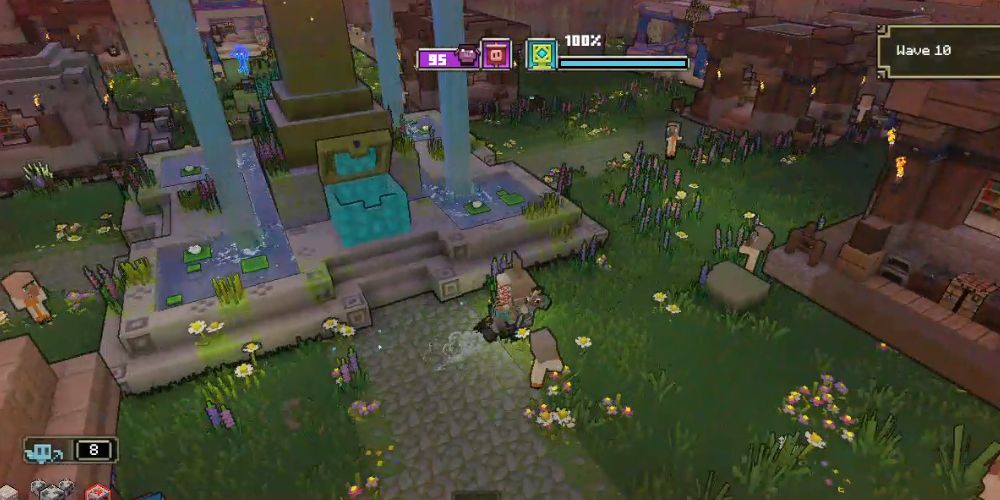
While the campaign mode is the main meat of Minecraft Legends, the game is not without some extra offerings on the side. The Portal Pile event is a lengthy mission that puts the players between a village and 3 nether portals. If you can survive this gauntlet, you’ll be rewarded with the Portal Buster skin.
This battle will be much tougher than anything the main campaign has to offer, and defeat will come easily to those unprepared. However, it is still very much beatable. This guide will help you survive the onslaught and obtain this premium skin.
Two Heads Are Better Than One
Before we proceed, know that having at least 1 other teammate is absolutely vital for this challenge. Having 3 or 4 people in your party will make this challenge much easier, but a well-coordinated team of 2 will still give you a chance.
Make sure you have a good channel of communication (preferably through voice chat) to keep everyone on the team in sync. This can be a lifesaver in situations where your defenses are breached, and you need emergency backup.
Assigning Roles
The Portal Pile requires you to defend the village from 20 waves of piglin attacks. With only a 20-second break between each wave, and the land around the village being a little dry on resources thanks to the netherrack corruption of the portals, it’s a bad idea to leave the village unattended while you’re stocking up on materials.
This is why you should decide on which players should stay to defend the village, and which players should go out to gather resources. Of course, the players on resource-gathering duty should be ready to teleport back to the village if their teammates are having trouble holding down the fort.
Your resources and unit limits are shared for this mission. It is important for the players defending the village to communicate what they’re building and what materials they need to the players who are gathering resources.
Building Your Defenses
When building your defenses, your priority should be to keep enemies away from the village’s fountain. Concentrate your defenses in the directions of the 3 nether portals, while making sure the other parts of the village still have some protection.
You should also pay attention to where you’re placing your buildings, as the village’s pre-existing structure makes your construction space surprisingly cramped.
Here are some of the recommended buildings for this challenge:
Arrow Towers
You won’t be able to have your units protect every angle of your village at once, so arrow towers are vital damage dealers. Cheap and inexpensive to build, you’ll want as many as you can reasonably fit into your walls.
Walls & Gates
Not only do walls slow down the enemy, but they’re also needed to protect your other buildings from being destroyed and wasting precious resources and construction time. You should also build gates to make sure that you and your forces can easily go out and personally clean up piglins outside your walls.
As the game goes on, you should consider double-layering your walls by building a second layer of walls with arrow towers in between. This will give you extra time to respond if one layer is breached.
Carpenter Huts
With the Portal Pile having around an hour of playtime, you’ll need to make sure your defenses are sustainable. Carpenter Huts are a necessity as they’ll repair buildings in their range, including the village fountain.
Masonries
The firepower of the horde intensifies every wave. Wooden walls and towers will find themselves quickly torn to shreds in mid and late-game. When the iron resource limit upgrade is unlocked, you’ll be able to reinforce your existing buildings with masonries. These buildings slowly turn wooden buildings in range into solid stone, increasing their toughness and buying you more time.
Ice Traps
Once diamonds are unlocked as a resource, you’ll get your hands on the massively spam-able ice traps. These traps will periodically freeze enemies who are near them, earning you a massive amount of time and letting your arrow towers get more damage in. Placing them in front of gates and walls is a great tactic.
Power Towers
Since these towers are one of a kind, placing them near your village’s fountain as part of your last line of defense is not a bad idea. Be sure to build these as they are unlocked.
Raising An Army
Though you’ll start with a very low shared army cap of 10, you’ll be allowed to raise a larger army with a bigger variety of units as you survive through waves. You’ll eventually be able to have 100 units in your army at once, and you’ll certainly be needing them.
If you have the time between waves, be sure to use your banner to distribute these units at different points where enemies will be coming from. If you have multiple players defending the base, have them split up and cover different directions.
Here are some units that are especially good for this challenge:
Grindstone Golems
Specializing in stunning enemy units, these golems can stall the enemy and make them inactive targets for your arrow towers and ice traps. Though they’re good in the early game, you’ll likely want to transition into spawning zombies later on as you’ll want to build masonries that require the same iron these golems need.
Zombies
The master of unit-to-unit combat. Zombies are super durable melee fighters who can also dish out some damage themselves. If you’re not interested in building battle drums, you’ll have a lot of redstone lying around to mass-produce these fighters.
Warriors
The powerful warriors that appear near the end of campaign mode are no longer just guest appearances. Near the end of your run, these warriors will allow you to summon them through their own spawner. Though costly, these warriors are quite tough. So if you have the resources, be sure to enlist their help.
The First Golems
One-of-a-kind units, each with their own abilities. You should build these as they become available. If you’re unfamiliar with what each is capable of, check out our guide on them.
Have Some Mercy
Though this event can feel very overwhelming, there is an exploit you can use to slow things down. This is abusing the simple fact new waves cannot start unless the current wave ends.
If after clearing most of a wave you find a few weak piglins attacking a structure that’s being healed by a carpenter hut, it may actually be a good idea to leave them alone. Since they will be occupied with attacking a building that’s regenerating faster than they can damage it, you can use this time to either build more defenses or gather more resources.
Just make sure that your arrow towers and units don’t accidentally strike them down before you’re ready to move on to the next wave.
Check The Village Chest
Remember to check the village chest after each wave. Even with a part of your team being dedicated to gathering resources, you’ll still appreciate having quick access to a plentiful amount of extra materials. As your party starts drying up the land of its resources, you may have to rely on this chest to keep specific resources in stock.
